Exploring Parighasana: A Guide to the Beam or Cross Bar Pose
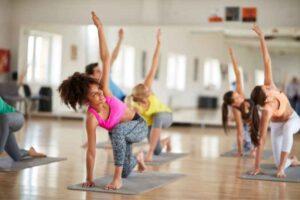
There are many different poses in the wide realm of yoga, and each has its own advantages and difficulties. Parighasana, sometimes called the Beam or Cross Bar Pose, is one such pose that is a great asset to the repertoire of any yoga practitioner. This asana’s name comes from the Sanskrit terms “Parigha,” which means “gate” or “crossbeam,” and “Asana,” which means “pose.” As a result, the pose is named after a gate or crossbeam. Let’s examine the procedures, advantages, and safety measures related to Parighasana.
Steps to Perform Parighasana (Beam or Cross-Bar Pose):
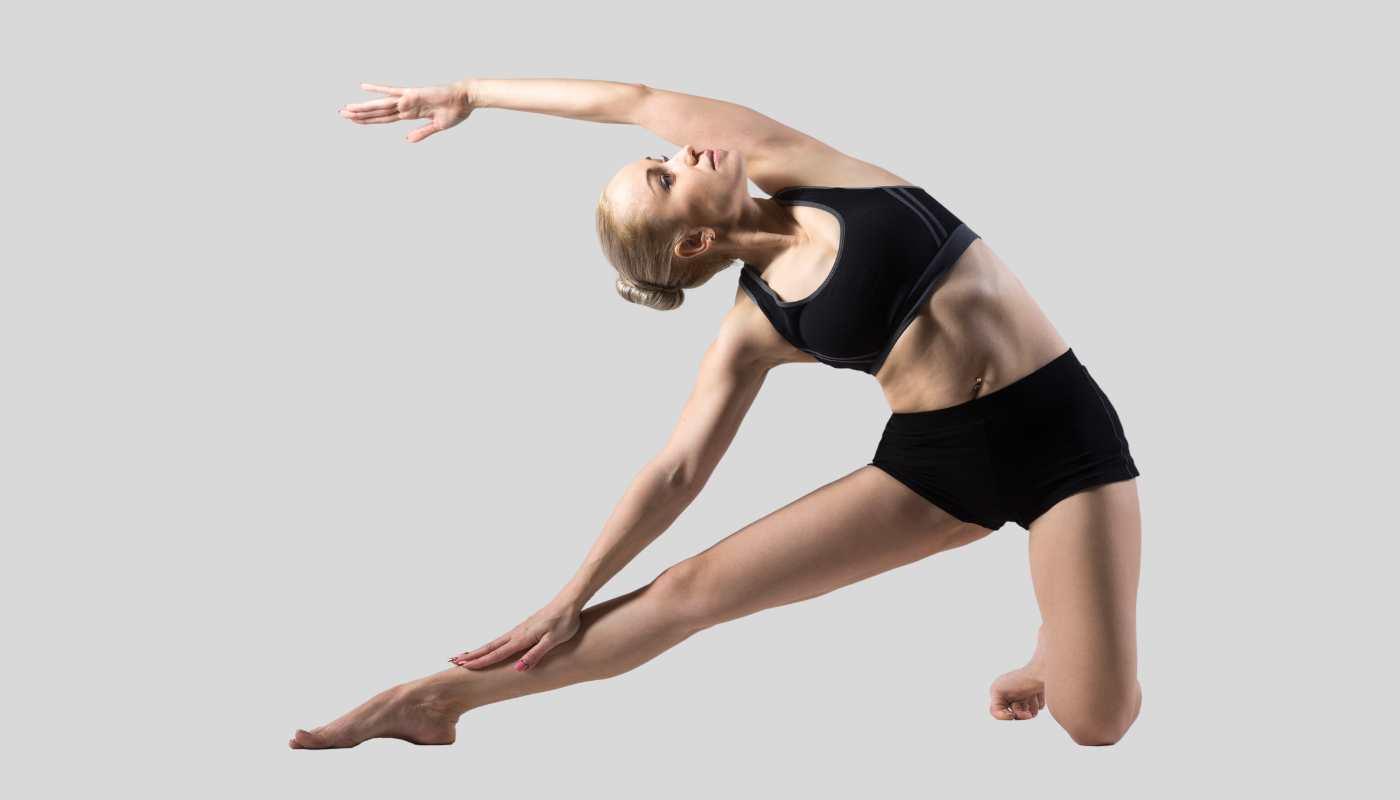
- Start in a Kneeling Position: Place your knees hip-width apart on your mat to start. Make sure your shoulders are relaxed and your spine is straight.
- Extend Your Right Leg: Stretch your right leg out to the side while maintaining a firm foot placement on the mat. The right foot ought to be facing forward.
- Align Your Body: Maintain a straight left knee beneath a left hip. The top of your left foot and your left shin should be flat on the mat.
- Engage Your Core: To stabilize your body and keep your balance throughout the position, activate your core muscles.
- Inhale and Raise Your Right Arm: Take a deep breath and extend your right arm upward, reaching for the ceiling. Hold your palm inward and your biceps near your ear.
- Exhale and Bend to the Left: Bend your body slightly to the left while extending your right arm over your head. Focus on stretching the right side of the body rather than stooping into the pose.
- Maintain the Pose: Breathe evenly and deeply while holding the stance for 30 to 1 minute. From your fingertips to your right foot, feel the stretch on the right side of your body.
- Release and Repeat: As you slowly bring yourself back to an upright position, take a breath to leave the pose. After that, swap sides and carry out the movement again, bending to the right and extending your left leg.
- End in Child’s Pose: After doing the posture on both sides, kneel again and sit back on your heels. Take a few breaths to relax and revitalize yourself by resting your forehead on the mat in Child’s Pose.
Benefits of Parighasana (Beam or Cross-Bar Pose):
- Stretches the Side Body: Parighasana is a great way to open up the sides of the torso, especially the obliques and intercostal muscles, which helps the spine become more flexible and mobile.
- Enhances Digestion: Parighasana’s twisting motion stimulates the abdominal organs, which helps with digestion and eases indigestion and bloating discomfort.
- Strengthens Core Muscles: By using the core to keep balance in Parighasana, the abdominal muscles are strengthened, which promotes improved posture and spinal alignment.
- Opens the Chest and Shoulders: Parighasana’s overhead arm extension expands the chest and shoulders, preventing the negative consequences of stooped posture and encouraging improved breathing.
- Calms the Mind: Parighasana’s thoughtful movement and concentrated breathing techniques help to lower stress levels, promote mental clarity and concentration, and relax the mind.
Precautions and Contraindications (Beam or Cross-Bar Pose):
- Avoid if Pregnant: Because Parighasana requires deep abdominal twisting and stretching, it is not recommended for pregnant women to perform, particularly in the later stages of pregnancy.
- Knee or Hip Injury: Proceed cautiously or stay away from this posture if you have any kind of knee or hip injury. When necessary, think about utilizing props to support the knee or hip, like a bolster or folded blanket.
- Neck Strain: Throughout the pose, maintain your neck relaxed and your gaze soft to prevent straining your neck. Lower your arm slightly or look forward rather than up at the lifted arm if you feel any pain in your neck.
- Modify with Props: To lessen the length and intensity of the stretch for people who are not very flexible, insert a bolster or yoga block beneath the hand that reaches upward.
- Listen to Your Body: As with any yoga pose, pay attention to your body’s cues and just extend the pose to the point where it feels comfortable for you. Prioritise alignment and safety above all else, and never push or strain your body into a pose.
There are many physical and mental advantages to incorporating Parighasana into your yoga practice, ranging from better digestion and flexibility to increased focus and relaxation. Always keep in mind to approach the posture mindfully, honor your body’s limitations, and savor the mat’s journey of self-discovery and exploration.
Read More: Yoga Teacher Training in Rishikesh
Learn to more about yoga poses you can visit the best yoga school in India and join 200 hour yoga teacher training in rishikesh and yin yoga teacher training and aerial yoga teacher training